TL:DR
1. Use whole beans
2. Use fresh roast coffee
3. Adjust your grind
– French Press? Grind it large
– Espresso/Mokka/Aeropress? Grind it fine
– Pour Over or Drip? Grind it medium
Taste, then adjust
Larger = less body and bitterness
Smaller = more body, more concentrated
4. Pay attention to the water to coffee ratio
Start with the below then adjust to your preference
- 55g coffee per 1,000ml water
- 30g coffee per 600ml water
- 15g coffee per 300ml water
How to brew coffee is one of the most frequently asked questions we get. If you’re looking to upgrade your Nespresso or Starbucks addiction this four pillar guide will help you brew your favourite cup every time. Four pillars too exhausting? Ok then, just follow the first two and you are guaranteed an immediate, significant upgrade to your morning coffee brew.
Pillar 1
Use whole beans.
We can’t stress this enough, if you aren’t buying whole bean coffee you are missing out on 70% of a bean’s flavour. Grinding coffee beans introduces a tremendous amount of oxygen to the delicate essential oils inside the beans, causing rapid oxidization and deterioration of smells and tastes – basically everything you are paying for in specialty coffee.
Pillar 2
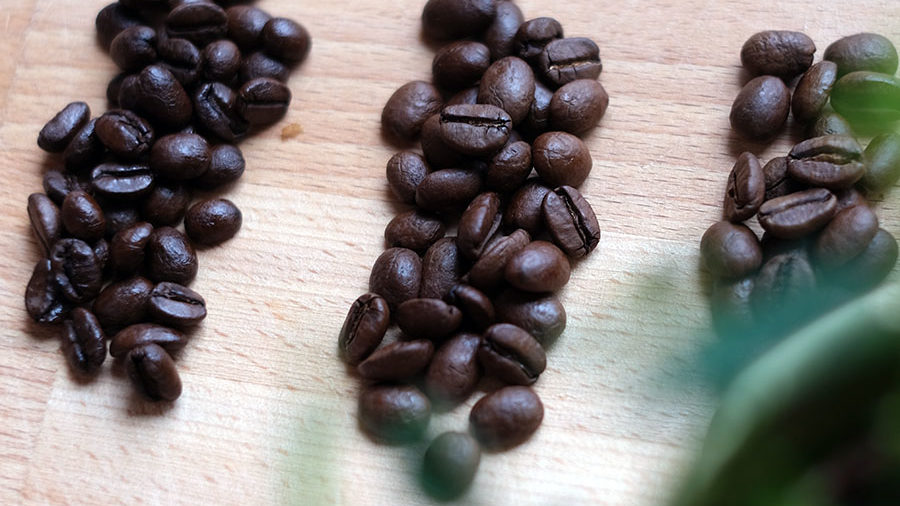
Get fresh roast coffee.
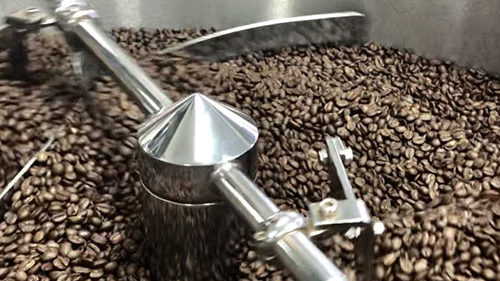
Roasting changes the chemical makeup of the beans and this process doesn’t end when the beans are pulled out and packed. The transformation continues for a few days up to approximately 2 weeks, with the beans slowly releasing carbon dioxide in a process called “degassing”. If you’ve seen a bag of coffee puffed up like a balloon, this is what’s happening.
Once the beans are degassed, their flavour is set and they’ll slowly mature and improve for about a week finally peaking about two weeks in. You should try to drink all your coffee during this window. After 14 days oxygen will start eating up the essential oils and slowly degrade your beans, giving up their flavour and turning them bitter and probably oxidized about a month after the roast date.
This is why supermarket coffee tastes bitter and weird: enormous batches are roasted abroad, then shipped to Hong Kong. By the time they’re on the shelf it’s well over a month old, if you’re lucky. The only way to make it drinkable, is by drowning it in milk and sugar.
A key caveat to the one month after roast rule is grinding the beans. Remember what we said about whole beans? By grinding the beans you create a larger surface area for oxygen to attack and that cranks up the rate of oxidation, transforming your beans from fresh to bitter/oxidized in a matter of hours; days if you’re really lucky.
Rule 3
Adjust your coffee grind size.

This is where we cross over into serious coffee territory. If you really want control over taste, grind size is a good place to start. Keep in mind there are no absolutes here; what grind size you ultimately use is up to your personal preference. But there are a few guidelines you can follow:
- Are your beans going to be sitting in water for a while?
(French Press, Cold Brew)
Grind it large to let the flavours extract slowly. - Are your beans going to have hot water forced through them rapidly?
(Espresso, Aeropress, Mokka)
Grind it fine to get maximum flavour. - Something in-between?
(Pour-over, drip)
Grind it medium.
Taste it and ask yourself:
- Is your coffee too bitter or heavy?
Use a slightly larger grind size. Finely ground coffee extracts the maximum amount of flavour, including proteins, oils and bitter tastes. Proteins, oils and bitter elements dissolve slower, so grinding large will prevent them from getting into your cup.
Keep this in mind with coffees described as “bright” or “lemony”, if you grind them too fine, your coffee may become excessively bitter. Reducing the brew time may also help here. - Is your coffee too thin?
Grind it finer. The additional surface area will pull more proteins, oils and smaller molecules from your coffee, giving it a thicker mouthfeel.
Rule 4
Pay attention to your coffee to water ratio.
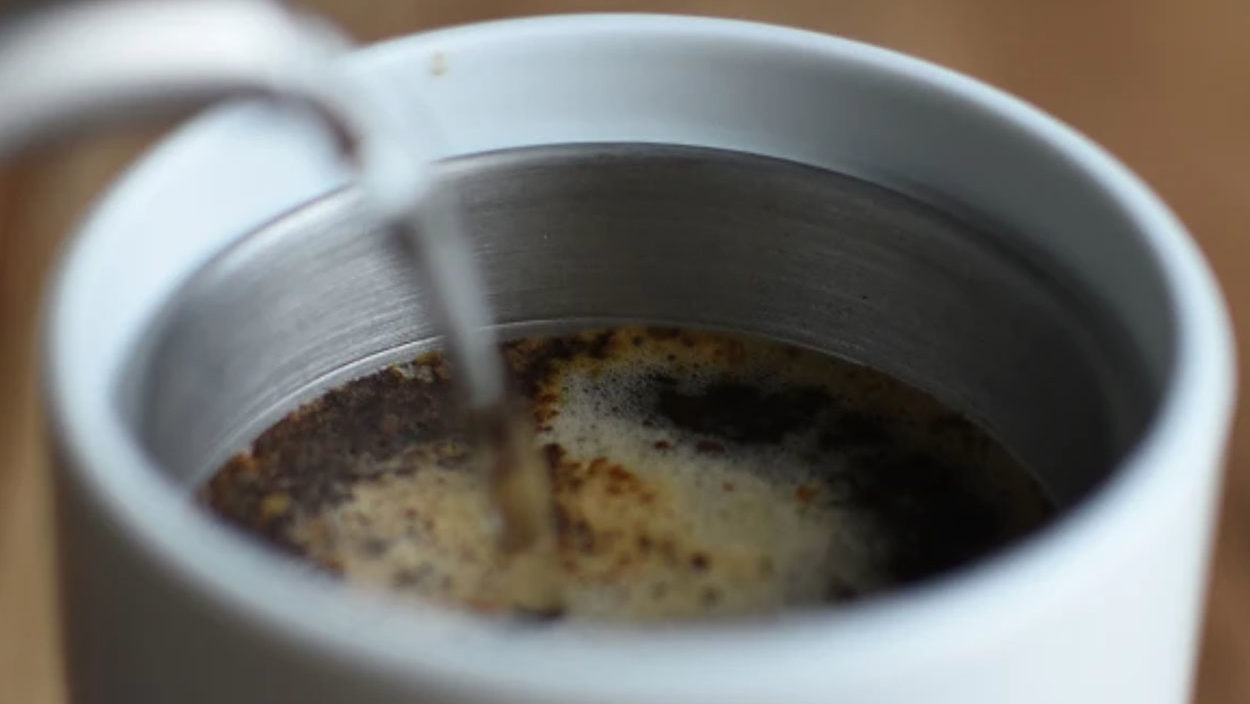
Do you own a kitchen scale? It’s one of my favourite pieces of kitchen equipment; right up there with my chef knife and temperature probe (I may take cooking a bit more seriously than most). If you don’t have one, try using a container or cup to experiment with how much water you add to your grinds.
When you first start playing around with your coffee to water ratio, a good place to start is with the Specialty Coffee Association (a group of very serious coffee nerds that create guidelines for this kind of thing). Their recommendation is to use 55g of coffee for every 1,000ml of hot water. Most grinders have a 30g capacity (including the ones in our shop) so that works out to be 600ml of hot water for a full grinder (two cups of coffee) or if you’re drinking solo, 15g of coffee per 300ml, resulting in one cup.
If you find that ratio is too strong, don’t worry! You’re the one who has to drink it so just add a touch more water next time. Too weak? Use a bit less. If you’re brewing with a pour over and a scale, you can really dial in a cup that’s just perfect for your tastes and be able to do it consistently.
That’s it! Your perfectly brewed coffee.
If you really want to dig deep into coffee technique, there are many other variables you can try to get maximum flavour from your beans. You can try to change up how fast you pour, how long you let it steep, the temperature of the water, the temperature you drink it; everything effects the final flavour which is what makes coffee brewing fun. Change it up, adjust your personal recipe with each bean you try, and relax, it’s only coffee. If you screw up you can always make more.